Chiikawa Evolution Character Tier List
A community S/A/B/C framework for Power efficiency and unlock timing—always verify live shop stats.
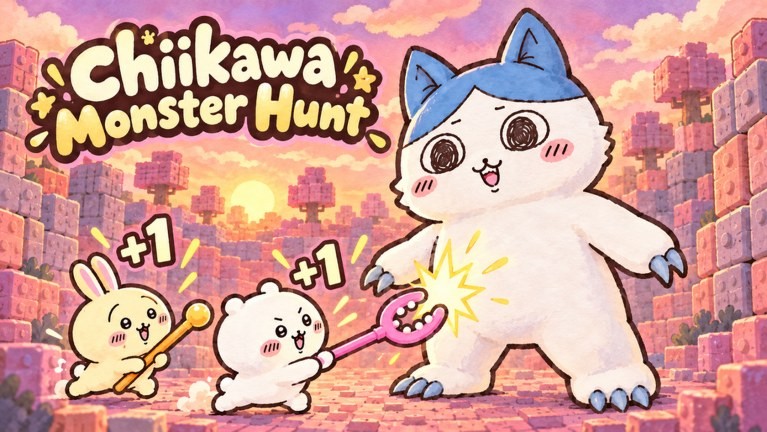
How to read this tier list
This page ranks Chiikawa characters in +1 Chiikawa Evolution using a community ranking framework focused on Power efficiency and unlock timing. Exact shop multipliers, prices, and evolved-form stats change when HVNstudio patches the game. Treat every tier label as a planning tool you must verify in-game before spending Wins.
For unlock steps see How to Unlock Characters. For cast systems and certificates see Chiikawa Roster. After updates, re-check numbers via Latest Patch Notes.
Ranking methodology
We score characters along four axes:
- Power efficiency — training benefit relative to Wins cost at the moment you can afford them.
- Unlock timing — whether they shine as first buys, mid-chain upgrades, or late stabilizers.
- Rebirth synergy — how well they accelerate Power rebuilds after Power and Level reset.
- Opportunity cost — what else you could have bought with the same Wins (boosts, next wall buffer, waiting for a better unit).
We do not rank on looks alone. Cute is the theme; Power clears walls.
Label reminder: Names such as Chiikawa, Hachiware, Usagi, Momonga, and their evolved forms are used here as thematic examples common to Chiikawa-roster Evolution gameplay. If the live shop uses different spellings, skins, or split evolved lines, map our framework onto the closest in-game card.
Tier definitions
S tier — buy and equip when affordable
S-tier picks offer outstanding Power per Win for their slot in the progression curve. They shorten wall clears immediately and stay equipped across multiple rebirth chains until something clearly better arrives.
Typical S-slot behavior in this genre:
- First truly noticeable Power jump after the starter
- Mid-game evolved forms that cut rebuild time in half
- Late forms that keep high-world walls breakable while you chain rebirths
A tier — strong, sometimes situational
A-tier characters are excellent when their price aligns with your Wins bank, but they may be skipped if an S option is only slightly more expensive, or held if you are one pad away from a better unlock.
B tier — filler or transitional
B-tier units help when nothing better is affordable. Equip them, clear the next walls, and plan the replacement. They are not “bad”—they are bridges.
C tier — low priority for Power progression
C-tier covers vanity-leaning options, outdated early cards you have outgrown, or expensive picks whose Power gain does not justify delaying a rebirth or a better unlock. Collect them for completion after your equipped Power curve is healthy.
Early-game picks (framework)
Goal: Break pasture walls and fund the first rebirth without starving.
- S / high A example: Starter Chiikawa line upgrades that are cheap and clearly raise swing Power—equip immediately (Getting Started).
- A example: Hachiware-style early friends priced as the next efficiency step after the first unlock.
- B example: Extra early faces that barely beat your current equip—only buy if Wins are overflowing.
- C example: Pure cosmetic variants with no meaningful Power tooltip.
Early rule: one good equip beats three mediocre unlocks. Spend via How to Get Wins routes, not impulse shopping.
Mid-game picks (framework)
Goal: Survive the first new worlds and shorten rebirth rebuild corridors.
- S example: Mid evolved forms (stronger Chiikawa/Hachiware/Usagi-style cards) that remain best-in-slot across several chains.
- A example: Usagi- or Momonga-themed upgrades that trade a higher Wins cost for a clear Power spike when your pad income supports them.
- B example: Side grades that match your current equip—skip unless collecting.
- C example: Old pasture uniques you no longer equip.
Mid-game habit: before buying, compare Power gain ÷ Wins cost against waiting one more wall chain. Also confirm you will equip the unit after purchase.
Late-game picks (framework)
Goal: Stabilize high-world Power gates while chaining rebirths.
- S example: Top evolved forms that keep frontier walls in reach after aggressive resets (How to Rebirth, Walls and Worlds).
- A example: Specialized high-cost units that shine on the newest pads but are overkill in older worlds.
- B example: Legacy mid forms kept for collection or certificate progress.
- C example: Anything that no longer leaves your inventory’s equip slot.
Late-game habit: re-rank after every patch. A former S can drop to A overnight if a new evolved line releases.
Example tier board (verify in-game)
| Tier | Thematic examples (verify live) | When to prioritize |
|---|---|---|
| S | Best current evolved forms; standout mid Power spikes | Equip ASAP when affordable |
| A | Strong Hachiware / Usagi / Momonga line upgrades | Buy when efficiency beats waiting |
| B | Transitional Chiikawa friends; near-duplicate equips | Bridge only |
| C | Outclassed early cards; vanity-first variants | Collect later |
This table is intentionally non-numeric. If a YouTube short or Discord list quotes exact multipliers, compare them to your shop before trusting either source.
How tiers interact with rebirth and walls
- Rebirth keeps characters, so tier upgrades are permanent account strength.
- Walls care about Power, so the equipped tier matters more than the number of unlocked faces.
- World jumps can promote a character from A to S if the new pads amplify their bonus—or demote them if a new shop line appears.
Use Walls and Worlds to know which gates your current equip should target next.
Updating your personal tier list
- Screenshot or note shop Power text for your top candidates.
- Record Wins prices.
- Compute a rough Power-per-Win order.
- Factor unlock timing—can you afford it before the next rebirth?
- Equip the winner and time a short training sample on your best pad.
- After patches, repeat from step 1 (Latest Patch Notes).
Codes can accelerate a tier jump when they grant Wins or related currency—redeem via How to Redeem Codes and track lists on the Codes Hub.
Related pages
- Tier List Hub
- Chiikawa Roster
- How to Unlock Characters
- How to Get Wins
- How to Rebirth
- Getting Started
Disclaimer
This S/A/B/C board is a community ranking framework for +1 Evolution–style Chiikawa roster planning. It is not an official HVNstudio balance sheet. Players should verify every price and Power value in the live game, especially after October–November 2026 update cycles and beyond.
Rank carefully, equip boldly, and let walls—not hype—tell you whether a Chiikawa belongs in S tier on your account.
Frequently Asked Questions
Quick answers for Chiikawa Evolution players.
Is this Chiikawa Evolution tier list official?
No. It is a community methodology framework for Power efficiency and unlock timing. Always verify multipliers and prices in the live shop.
Why don’t you list exact Power numbers?
Shop values change with patches. Publishing stale numbers causes bad Wins spends. Use in-game tooltips as the source of truth.
Should I buy S-tier characters immediately?
Buy when you can afford them without skipping a critical wall-pad claim or rebirth timing. Equip them as soon as they beat your current Power gain.
Where do I see the full cast explanation?
Open the Chiikawa Roster page for equipping, certificates, and collection context, then return here for prioritization.